A few couples days ago I found my old bluetoth-gps device and I thought I can use that device with my arduino. So I googled for it but there is no article or any matching results for “Arduino + BTGP-38” or “Arduino + Bluetooth GPS”. Then I decided to write such an article to reuse old bluetooth-gps devices with arduino as gps device without spending any money. 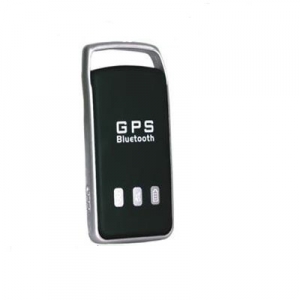 (you know gps modules for Arduino’s are not cheap devices)
In a bluetooth-gps device there are two main modules, GPS module for receiving the GPS data, bluetooth module for transmitting GPS data to bluetooth activated devices and a controller for both of these modules to work properly. In BTGP-38, NEMERIX GPS module is used for receiving gps data over satelittes. NEMERIX GPS module receives the signal from GPS satelittes and then process this signal and then transmits the processed data from its serial port to bluetooth module. Actually I am not sure if the module itself doing this process or the controller but it’s not matter for us. Because we are going to find and use the pins with our Arduino which are transmitting these data from gps module to bluetooth module.
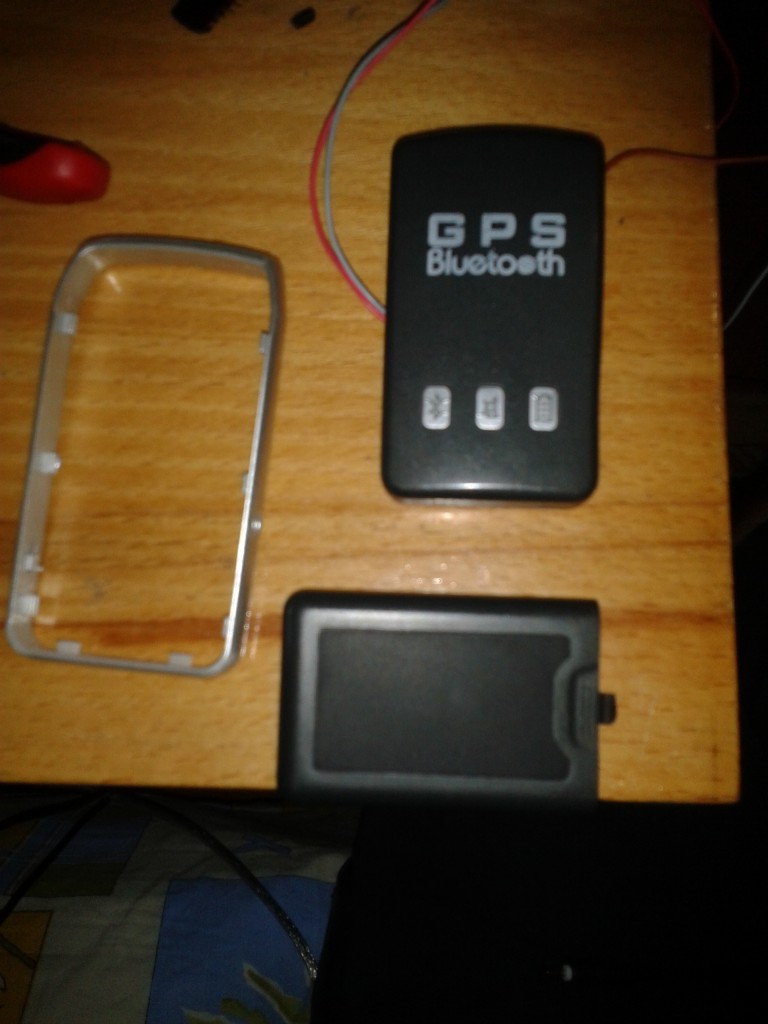
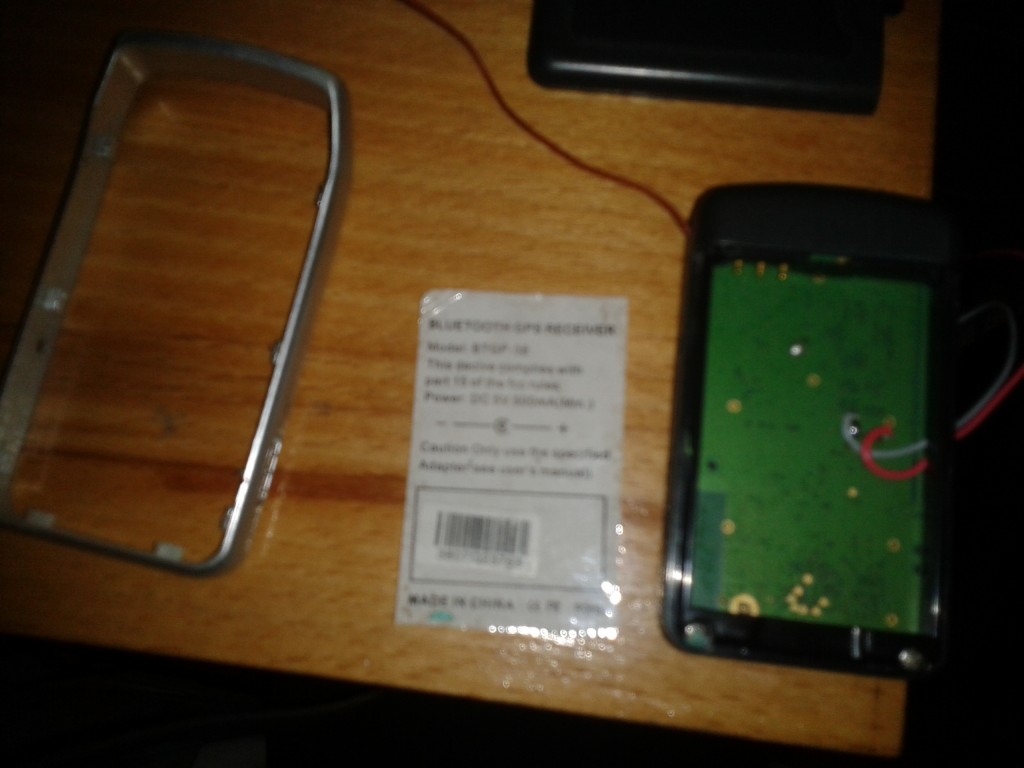
To find which pins we are going to connect our Arduino’s Tx Rx pins, we need to disassemble our BTGP-38 device and then solder some cable to these pins and also solder some piece of cable to ground pin.
Here I am adding some images where to solder cables;
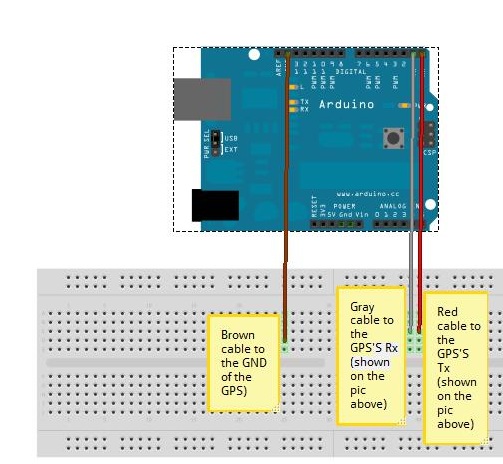
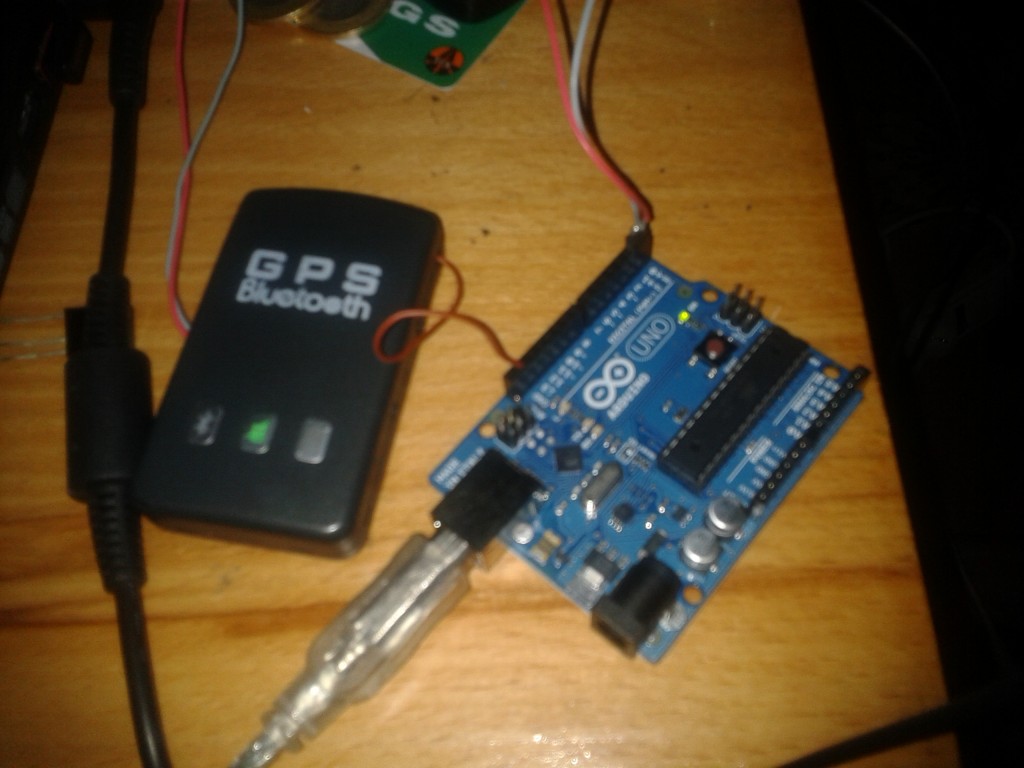
Red Cable is going to connected to Arduino’s Receive pin (digital 0) so this is the transmit pin of the GPS Module. And the gray cable is going to connected to Arduino’s Transmit pin (digital 1) so it is the receiver pin of GPS module.
I have showed only tx and rx pins attached on the images but DO NOT FORGET TO SOLDER GND cable. Because if you dont connect GND pin of BTGP-38 and Arduino it wont works. So you can solder a piece fo cable between charger jack’s GND and Arduino’s GND .
And after that use the simple code below to write received Serial Port data to Serial monitor.
char incomingByte;	// for incoming serial data

void setup() {
	Serial.begin(9600);	// opens serial port, sets data rate to 9600 bps
}

void loop() {

	// send data only when you receive data:
	if (Serial.available() > 0) {
		// read the incoming byte:
		incomingByte = Serial.read();

		// say what you got:

		Serial.print(incomingByte);
	}
}
That’s all… Uplaod this sketch to your arduino and open your Serial Monitor window.
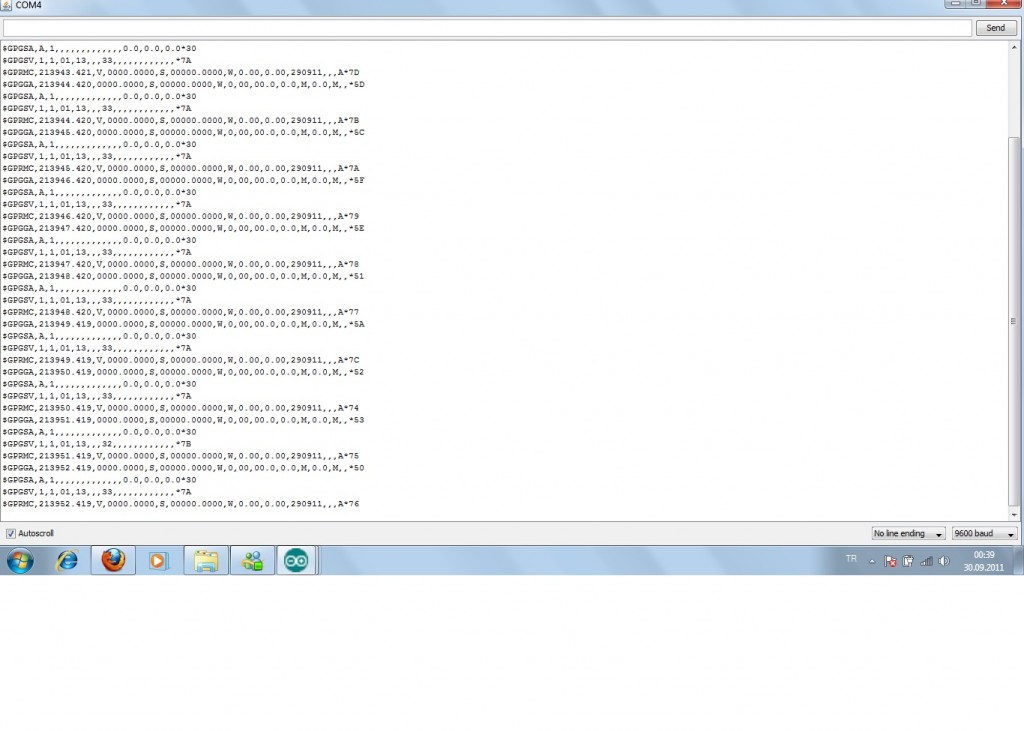
Here are the results ;
Now I am trying to parse the data coming from gps and make it human readable via Serial monitor or Lcd. I will share it soon.
I hope this article was helpful for you and I hope to see you again in another article, thank you…
It’s a good piece of information. I’m trying to get Delorme BT-20 connected to arduino using Gnd – black, Txd – green, Rxd – white wires of USB cable connected to BT-20 GPS. No luck so far. Want tto give it a try as it described here, but not sure where to solder the wires. Any idea? Thank you.
I am not sure how Delorme BT-20’s wiring is . Mine is cheap Chinese Bluetooth-GPS module without any LCD. And mine GPS module is generic, OEM without and brand. So I have no idea how you could connect yours.. Sorry about that..
merhaba seri porta gelen datayı okunabilir yapabildiniz mi acaba?paylaşımınız için çok teşekkürler çok faydalı oldu.